Sharing your screen with a projector can be a great way to display your content to a larger audience, whether it’s for a business presentation, a classroom lecture, or a movie night. In this guide, I will walk you through the steps you need to take to share your screen with a projector, from choosing the right cables to adjusting your display settings.
Contents
Step 1: Check your projector’s inputs
The first thing you need to do is check your projector’s inputs to see what kind of connection it supports. Most projectors will have at least one VGA input, which is a standard analog video connection, but newer projectors may also have HDMI, DisplayPort, or USB-C inputs. You should also check if your projector has a built-in wireless connection or if it requires an adapter.
Step 2: Choose the right cable
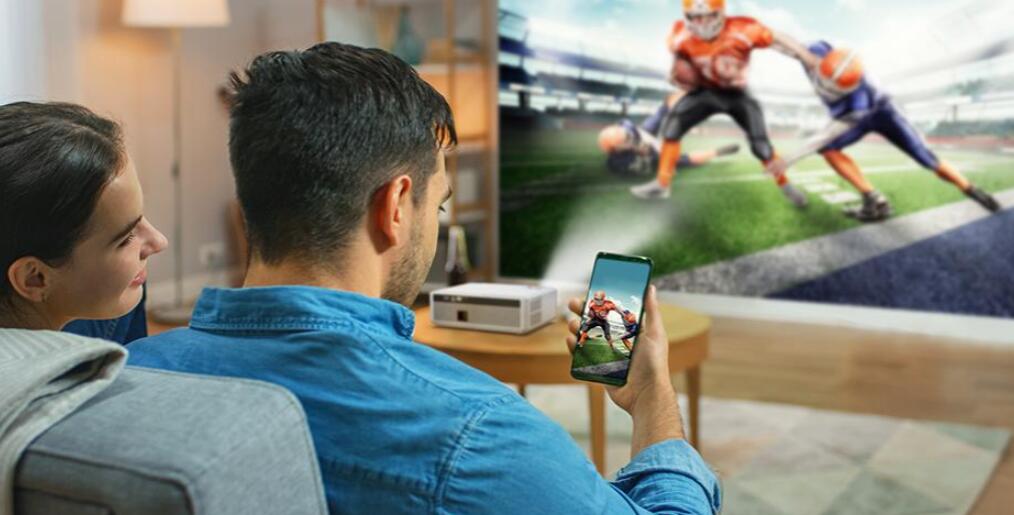
Once you know what inputs your projector supports, you need to choose the right cable to connect your computer to the projector. If your computer has a VGA output, you can use a VGA cable to connect it to the projector’s VGA input. If your computer has an HDMI output, you can use an HDMI cable to connect it to the projector’s HDMI input. If your computer has a DisplayPort output, you can use a DisplayPort cable to connect it to the projector’s DisplayPort input. And if your computer has a USB-C output, you can use a USB-C cable to connect it to the projector’s USB-C input. If your projector has a built-in wireless connection, you can connect to it using Wi-Fi.
Step 3: Connect your computer to the projector
Once you have the right cable, you need to connect your computer to the projector. Start by turning off both the projector and the computer, and then plug one end of the cable into the computer’s output port and the other end into the projector’s input port. Make sure the cables are securely connected and tighten the screws if necessary. Once the cables are connected, turn on the projector and then turn on the computer. The projector should automatically detect the input source and display your computer screen.
Step 4: Adjust the display settings
Once your computer is connected to the projector, you may need to adjust your display settings to optimize the image quality. Start by right-clicking on your desktop and selecting “Display settings” or “Screen resolution” from the context menu. From here, you can adjust the resolution, orientation, and scaling of your display. You may also need to adjust the brightness, contrast, and color settings on the projector itself to get the best image quality.
Step 5: Share your screen
Once your computer is connected to the projector and the display settings are optimized, you’re ready to start sharing your screen. Depending on the software you’re using, you may need to select the “Present” or “Share screen” option from the menu. This will typically open a new window with your content, which will be displayed on the projector. Make sure you position the projector so that everyone in the audience can see the screen clearly, and adjust the focus if necessary.
Step 6: Disconnect your computer from the projector
When you’re finished sharing your screen, you need to disconnect your computer from the projector. Start by turning off the projector, and then disconnect the cable from both the computer and the projector. If you’re using a wireless connection, you can simply disconnect from the projector’s Wi-Fi network.
Conclusion:
Sharing your screen with a projector can be a great way to display your content to a larger audience. To do this, you need to check your projector’s inputs, choose the right cable, connect your computer to the projector, adjust the display settings, share your screen, and then disconnect your computer from the projector when you’re finished. By following these steps, you can ensure that your presentation or content is displayed correctly and clearly, and that everyone in the audience can see it. It’s important to also test the connection and the display settings beforehand to avoid any last-minute issues or delays.
In addition, it’s a good idea to have a backup plan in case the projector or cable malfunctions. This could include bringing a spare cable, using a different input on the projector, or having a backup copy of your presentation on a USB drive.
Overall, sharing your screen with a projector can be a simple process as long as you have the right cables, check your settings, and test the connection beforehand. With these steps in mind, you can confidently share your content with a larger audience and make your presentation or event a success.