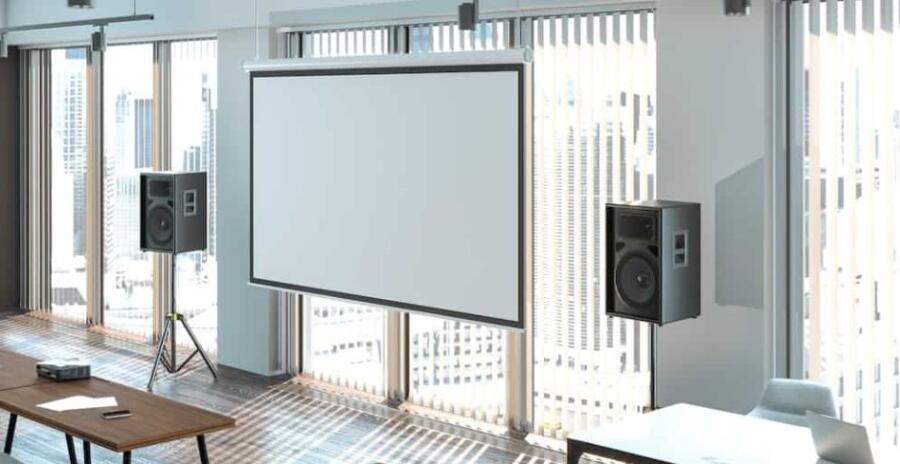
Installing a projector screen can be a great way to enhance your home entertainment experience, whether you’re a movie buff, a gamer, or a sports fan. A properly installed projector screen can provide a larger, more immersive viewing experience compared to a typical TV screen. Here are the steps to install a projector screen:
Contents
Step 1: Choose the location
The first step is to choose the location where you want to install the projector screen. Ideally, you should select a location where the screen will not be affected by ambient light, such as a darkened room or a basement. You should also ensure that there is enough space for the projector screen to be installed, and that it is easily visible from your seating area.
Step 2: Measure the space
Once you’ve chosen the location for your projector screen, you need to measure the space to determine the size of the screen you’ll need. The screen should be large enough to provide a clear, crisp image, but not so large that it becomes difficult to view from the seating area.
Step 3: Choose the projector screen
There are several different types of projector screens available, each with their own advantages and disadvantages. Some of the most common types of projector screens include fixed frame screens, retractable screens, and motorized screens. Choose the one that best suits your needs and budget.
Step 4: Install the mounting brackets
Next, you’ll need to install the mounting brackets for the projector screen. The brackets should be placed at the appropriate distance from the wall or ceiling, depending on the type of screen you’re installing. For fixed frame screens, the brackets should be placed at a fixed distance from the wall or ceiling. For retractable or motorized screens, the brackets should be placed at a distance that allows the screen to be extended and retracted as needed.
Step 5: Mount the projector screen
Once the mounting brackets are in place, it’s time to mount the projector screen. This step will vary depending on the type of screen you’re installing. For fixed frame screens, the screen should be attached to the brackets using screws or other fasteners. For retractable or motorized screens, the screen should be attached to the brackets using a mounting plate or other mechanism.
Step 6: Connect the projector
Finally, you’ll need to connect the projector to the screen. This will typically involve connecting a video cable from the projector to the screen, as well as any necessary audio cables. You should also adjust the projector settings to ensure that the image is properly aligned and sized for the screen.
In conclusion, installing a projector screen can be a great way to enhance your home entertainment experience. By following these steps, you can install a projector screen that provides a large, immersive viewing experience for movies, games, or sports. Remember to choose the right location, measure the space, choose the appropriate screen type, install the mounting brackets, mount the screen, and connect the projector. With a little bit of effort and attention to detail, you’ll be enjoying your new projector screen in no time!