Connecting a Windows 11 computer to a projector is a straightforward process. However, there are a few steps you need to follow to ensure that the connection is established correctly. In this guide, we will walk you through the steps to connect your Windows 11 computer to a projector.
Contents
Step 1: Check the Connections
The first step is to ensure that your projector is properly connected to a power source and that all cables are correctly plugged in. Make sure that the HDMI, VGA, or USB cable is securely connected to both the projector and the computer. If you are using an HDMI cable, make sure that both the computer and the projector support HDMI.
Step 2: Turn on the Projector
Once you have verified that all cables are correctly plugged in, turn on the projector. Depending on the type of projector you are using, you may need to press the power button or use the remote control.
Step 3: Switch to the Correct Input Source
Most projectors have multiple input sources, such as HDMI, VGA, or USB. To display your Windows 11 computer on the projector, you need to select the correct input source. To do this, use the remote control or the buttons on the projector to navigate through the input sources until you find the one that matches the cable you have connected to your computer.
Step 4: Connect Your Windows 11 Computer to the Projector
Now that you have selected the correct input source, it’s time to connect your Windows 11 computer to the projector. Depending on your computer, you may need to adjust the display settings before you can connect to the projector.
Step 5: Adjust Display Settings
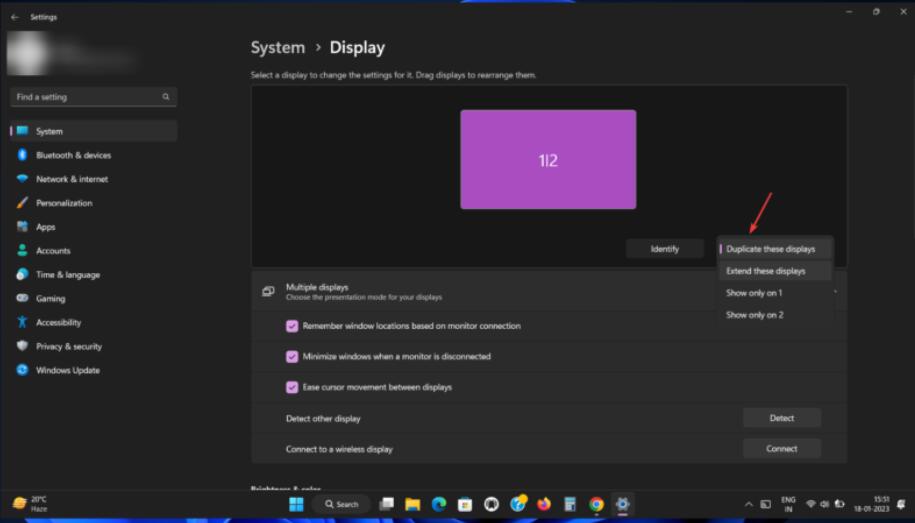
To adjust the display settings, right-click on your desktop and select Display Settings. Under the Display tab, you will see a list of available displays. Click on the Detect button to search for the projector. Once the projector is detected, you can choose to duplicate your screen, extend your desktop, or use only the projector.
If you choose to duplicate your screen, your Windows 11 computer will display the same content as the projector. This is useful for presentations or movies.
If you choose to extend your desktop, your Windows 11 computer will display a separate screen from the projector. This is useful for giving presentations or working on multiple tasks simultaneously.
If you choose to use only the projector, your Windows 11 computer will turn off its display and use only the projector. This is useful for presentations or movies.
Step 6: Adjust Resolution
If the projector resolution does not match your Windows 11 computer resolution, you may need to adjust the resolution settings. To do this, go back to the Display Settings and click on the Advanced Display Settings link. Here, you can select the resolution that matches your projector.
Step 7: Test the Connection
Once you have adjusted the display settings and resolution, it’s time to test the connection. Open a program or file on your Windows 11 computer and check whether it displays correctly on the projector. If it does not, you may need to adjust the display settings or resolution again.
Step 8: Disconnect Your Windows 11 Computer from the Projector
When you are finished using the projector, make sure to properly disconnect your Windows 11 computer from the projector. This means turning off the projector and unplugging the cable from both the computer and the projector.
Conclusion
Connecting a Windows 11 computer to a projector is a simple process that requires a few steps. By following these steps, you can ensure that your computer and projector are correctly connected and that you can display your content on the big screen. Remember to always check your connections, adjust your display settings, and test the connection before giving a presentation or watching a movie.